
🚀 Setup and levelling
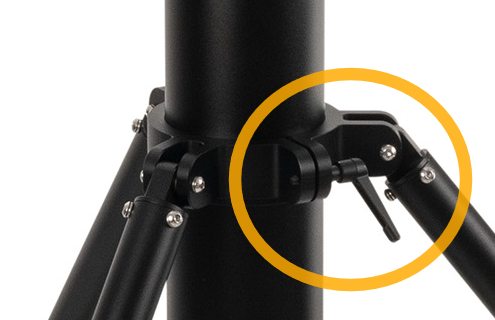 Open the clamping lever. It has a spring mechanism: Pull the lever along the screw axis to change its orientation. Fold out the legs. This may require a little jolting. Place the pier tripod at the observation site – initially without the adapter and mount.
- Screw the adapter to the bottom of your mount – *only attach the counterweight and telescope later*\! You can already screw the three side M6 set screws one or two turns into the adapter now.
- Consider where the cardinal directions are. Due to the three recesses at the top edge of the pier, you cannot rotate the mount arbitrarily! It is better to correctly orient the pier *before* placing the mount on it – the pier can be very heavy with the mount attached.
- Once the pier is oriented, you can adjust its height slightly. As soon as the height is correct, tighten the clamping lever. If your mount *does not* have a built-in spirit level (bull's-eye level), level the pier now (see 6.).
- Place the adapter along with the mount onto the pier from above. Turn the adapter a little clockwise so that it cannot accidentally tip off. Clamp the adapter to the pier with the three side M6 screws.
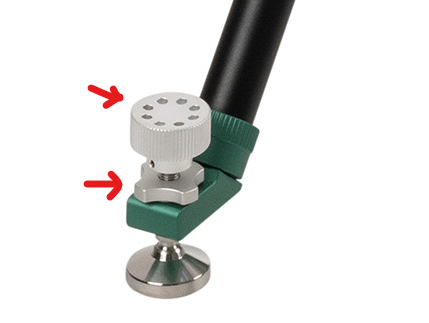 Open the star-shaped lock nuts on the tripod feet. Then use the knurled screws to level your mount, provided it is equipped with a spirit level. Alternatively, you can perform this step between 4 and 5 with a spirit level app on your smartphone – just place the smartphone on top of the column rim. Then turn the lock nuts back down to secure the leveling.
- Now you can attach the counterweight(s) and then the telescope to the mount.
Tip: You can attach 100 mm tube rings (such as Omegon item no.: 57288) to the column and use them to attach, for example, an eyepiece holder.
No comments to display
No comments to display